I love brightly lit spaces. Doesn’t everyone? For me, there’s something to be said about natural sunlight. The traditional soft yellow light bulbs in most ceilings lights are all well and good, but things look different in natural light. Colors are more vibrant and even totally different shades in some cases. I hated trying to work on something and have it covered in shadow, only to take it outside and find it didn’t even look right!
For those of us crafters and stitchers, good lighting is a constant struggle. And if you’re anything like me, you probably don’t have the $50 – $300 to throw down on an OttLite. (If you don’t know what an OttLite is, they are a brand of lighting specifically designed for crafting and other things that need high quality light and color. And they’re also very expensive.)
A good OttLite can be an investment for many years, but some of us don’t have the funds to replace bulbs when the old ones burn out, not even speaking of the initial costs of the lamp itself. Some people would save and scrimp and shrug their shoulders at the high cost of an OttLite, but what about us stitchers who don’t have a lot of money to save or put away into an OttLite, but still want good lighting?
I have a solution.
In recent years, a type of light bulb called the “Daylight Bulb” has become popular. You can find them alongside Soft White and Clear White Bulbs in any store that carries light bulbs. Hardware stores like Lowe’s and Home Depot usually have comparison displays that show the differences between the three types. Soft White (or Yellow) is the generic and low quality bulb that’s been in use for decades. Clear White (Light Yellow) is a sort of hybrid between Soft White and Daylight. Not as bright or clear as Daylight, but definitely better than Soft White. And last but not least, is the Daylight Bulb itself.
The whole point of the Daylight bulb is that is emulates sunlight, and it actually does work. I’ve had my curtains open with the rising sun pouring in, and turned on and off my ceiling light. You can’t tell the difference between the artificial light and the sunlight. Which, when it comes to crafting, is a much needed thing. And the best part is, they’re cheap! Most four-packs are between $10 and $20, depending on where you buy it and what brand it is.
For example, we buy four-packs that look like this:
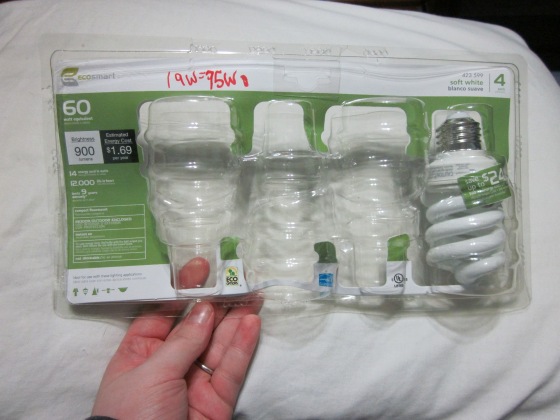
This is the Soft White Packaging (we’re out of Daylight) – the Daylight packaging is blue.
I’m pretty sure we bought these at Meijers, but I think Lowe’s and Home Depot carry this brand as well.
And you can tell which kind it is by the number and name in the corner:
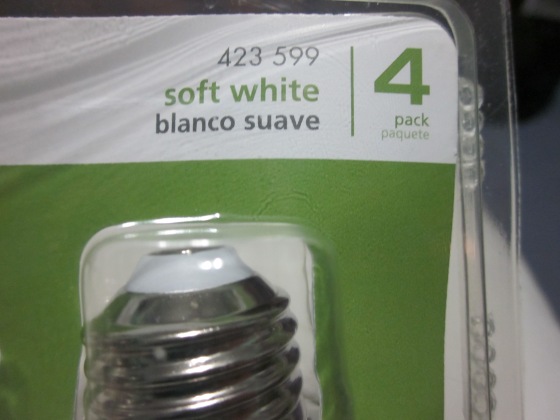
Again, you want the Daylight kind – this is Soft White, only because we’re out of the Daylight bulbs right now!
If you can’t afford an Ottlite, or just like bright lighting like I do, Daylight bulbs are the bulbs for you! I have three 100-watt Daylight bulbs in my ceiling light, and a 60-watt Daylight bulb in the lamp beside my desk and on my nightstand. I have bright light whenever I need it, for reading or stitching or anything else I want to do. And it’s day time in my room no matter what time of day it is!
Do a Google search for “Daylight Bulbs” and see what store near you carries them! Trust me, if you’ve never used Daylight bulbs when stitching before, they WILL make a huge difference. 🙂
Let me know how it went once you’ve tried it! Or, if you’re using them already, feel free to leave a comment saying whether you like them!
—————————————————————————————————–
“Random Corner” is a place for all articles related to all manners of cross-stitchery and the cross-stitch community that don’t fall into the topics covered in the regular segments. There is no set schedule for Random Corner articles, they’re just random!


